Configure Rich Authorization Requests (RAR)
Using Rich Authorization Requests (RAR), clients can request and obtain fine-grained authorization data from resource owners, such as end users, during the Authorization Code Flow and Client-Initiated Backchannel Authentication Flow.
In a Rich Authorization Request, the authorization_details parameter is a JSON array of objects. You can render the authorization_details, containing transaction details, in a consent prompt to the user in Multi-factor Authentication challenges.
To configure Rich Authorization Requests for a resource server, you must:
Configure the consent policy for the resource server.
Register
authorization_detailstypes for the resource server.Configure the resource server to accept Rich Authorization Requests.
Configure consent policy for the resource server
The resource server’s consent policy determines when and how Auth0 renders the Rich Authorization Request and shows the consent prompt to the user.
The table below summarizes Auth0's standard consent policy behavior for a resource server that accepts Rich Authorization Requests:
| Is it a Rich Authorization Request? | MFA Required? | Consent policy is standard or undefined |
|---|---|---|
| No | No | Standard consent is shown unless there is a grant that includes the requested access. |
| Yes | No | Customized consent is shown. |
| Yes | Yes, with an authentication factor that is not a push notification | Customized consent is shown after the user fulfills the MFA challenge. |
| Yes | Yes, with a push notification factor | No consent is shown. The consent is handled in the mobile application that receives the push notification challenge. |
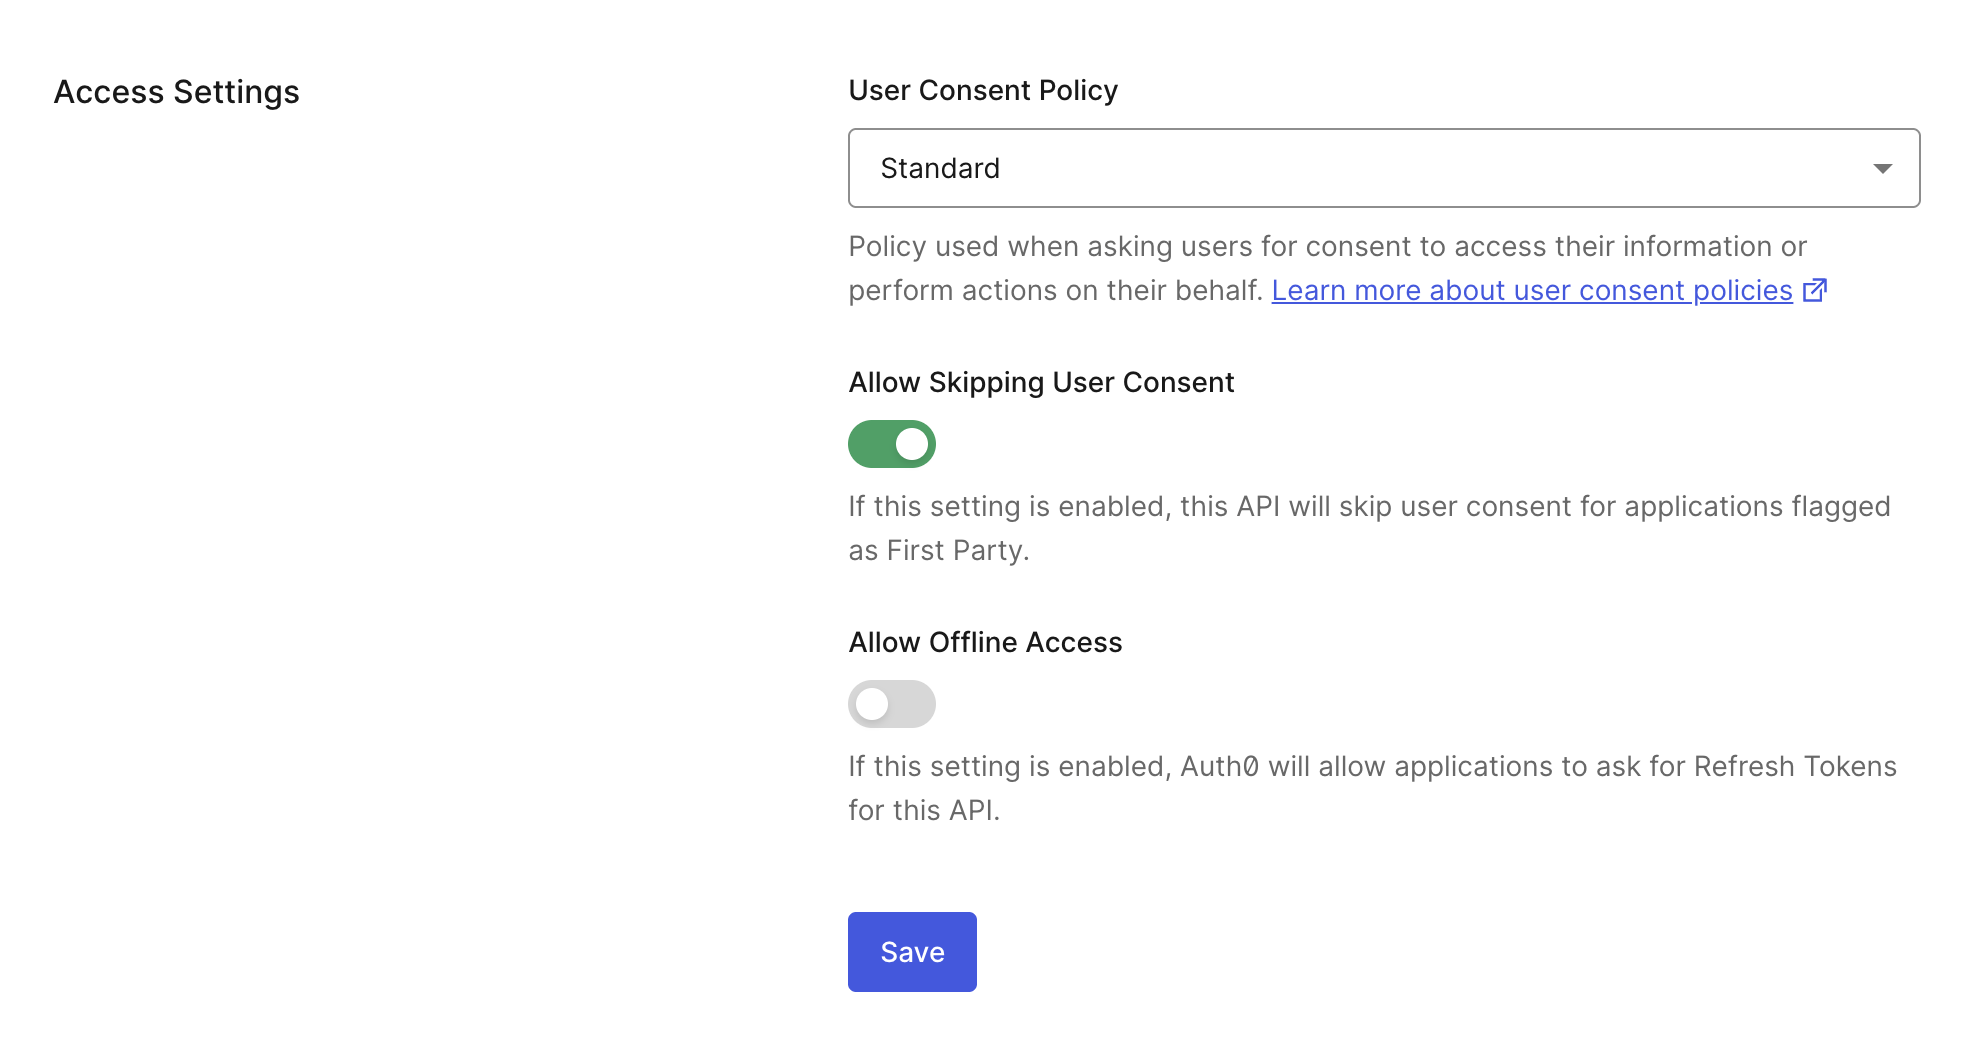
Set the consent policy in your API settings using the Auth0 Dashboard.
Navigate to Auth0 Dashboard > Applications > APIs.
Select the Settings tab.
Under Access Settings, choose the Standard consent policy.
Save your changes.
To set the consent policy for a resource server or API using the Management API, send a PATCH request to the Update a resource server endpoint. In the PATCH request, set the consent_policy to standard:
curl --location --request PATCH 'https://$tenant/api/v2/resource-servers/$resource-server-id' \ --header 'Authorization: Bearer $management_access_token' \ --header 'Content-Type: application/json' \ --data-raw '{ "consent_policy": "standard" }'Was this helpful?
Register authorization_details types
The type field determines the customizable object fields. An authorization_details array may contain multiple entries of the same type.
You must register authorization_details types for a resource server, which is similar to registering allowed scopes. The authorization_details types must follow these requirements:
Maximum 5Kb
Must be valid JSON
Must be an array of objects
Maximum of 5 entries in the array
Every object must have a
typeproperty (that is pre-registered on the API)Maximum of 10 properties per object
Maximum character length of property names is 255
Maximum character length of property value is 255
Maximum of 5 levels of nested objects
Property names can only contain the following characters:
a-zA-Z0-9_.-
You can register authorization_details types with the Auth0 Dashboard or Management API.
You can add authorization_details in the Auth0 Dashboard.
Navigate to Auth0 Dashboard > Applications > APIs.
Select the Permissions tab.
Under Add an Authorization Details type, you can add multiple
authorization_detailstypes for your resource server. Enter anauthorization_detailstype and then select the +Add option.
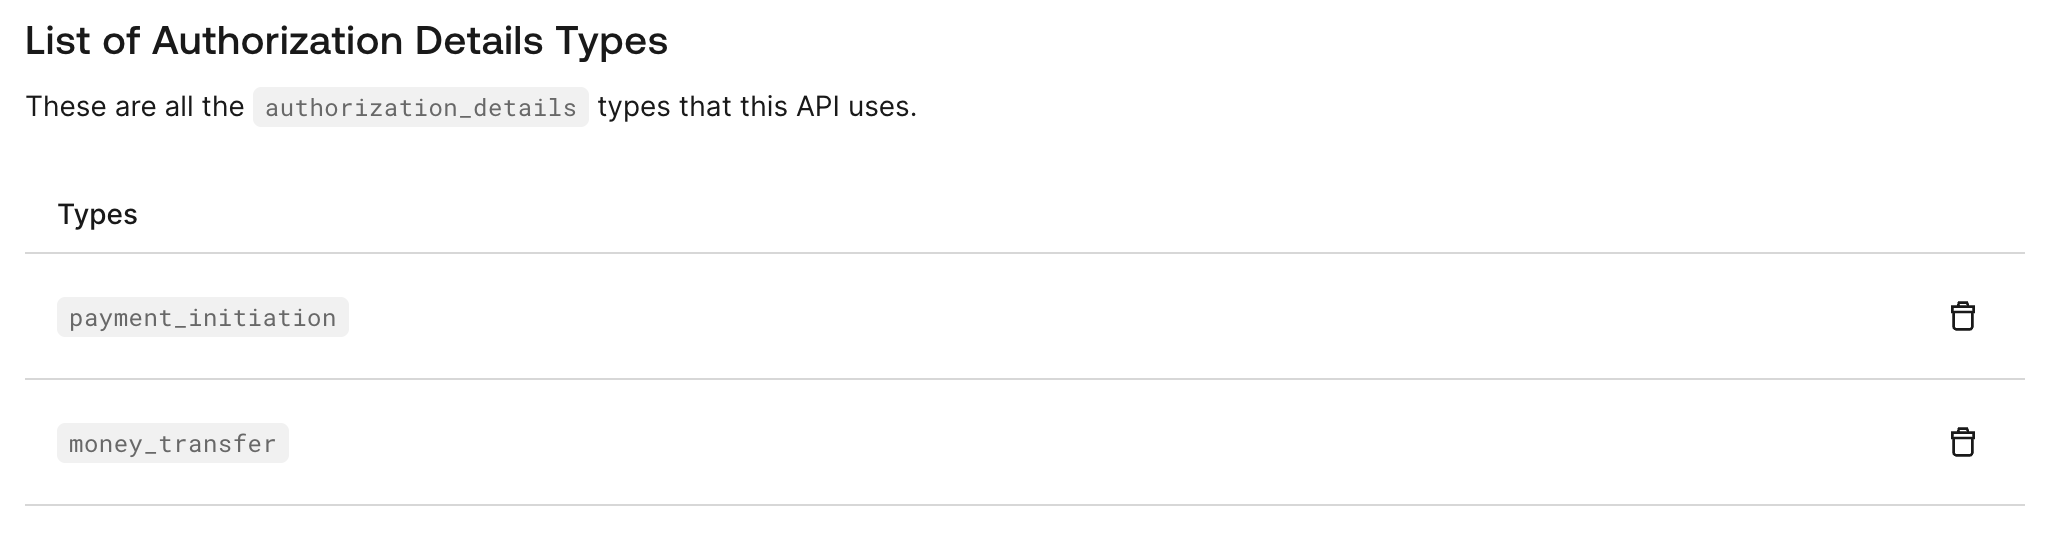
You can see the authorization_details types for your resource server under List of Authorization Details Types:
To register authorization_details types with the Management API, you need to send a PATCH request to the Update a resource server endpoint.
The following code sample adds the payment_initiation and money_transfer types under authorization_details for a resource server:
curl --location --request PATCH 'https://$tenant/api/v2/resource-servers/$resource-server-id' \
  --header 'Authorization: Bearer $management_access_token' \
  --header 'Content-Type: application/json' \
  --data-raw '{
  "authorization_details": [{"type": "payment_initiation"}, {"type": "money_transfer"}]
  }'
Was this helpful?
Create a new resource server with authorization_details types
The following POST request creates a new resource server with authorization_details type payment_initiation:
curl --location --request POST 'https://$tenant/api/v2/resource-servers' \
  --header 'Authorization: Bearer $management_access_token' \
  --header 'Content-Type: application/json' \
  --data-raw '{
  "name": "Payments API",
  "identifier": "https://payments.api/",
  "consent_policy": "standard",
  "authorization_details": [{"type": "payment_initiation"}]
  }'
Was this helpful?